Travel photography is one of the most rewarding ways to document your journeys — this guide walks you through the gear, techniques, etiquette, and editing habits that separate forgettable snapshots from images you'll treasure for life.
Every traveler carries a camera today, whether that's a professional mirrorless body or the phone already in their pocket. The difference between photos that genuinely tell the story of a place and ones that simply prove you were there comes down to a handful of learnable skills: knowing your equipment, reading light, respecting your subjects, and developing an eye for what makes a scene worth capturing. This guide covers all of it, practically and without jargon.
Choosing the Right Camera for Travel
There is no single "best" travel camera — the right choice depends on how much weight you're willing to carry, how deeply you want to control your images, and your budget.
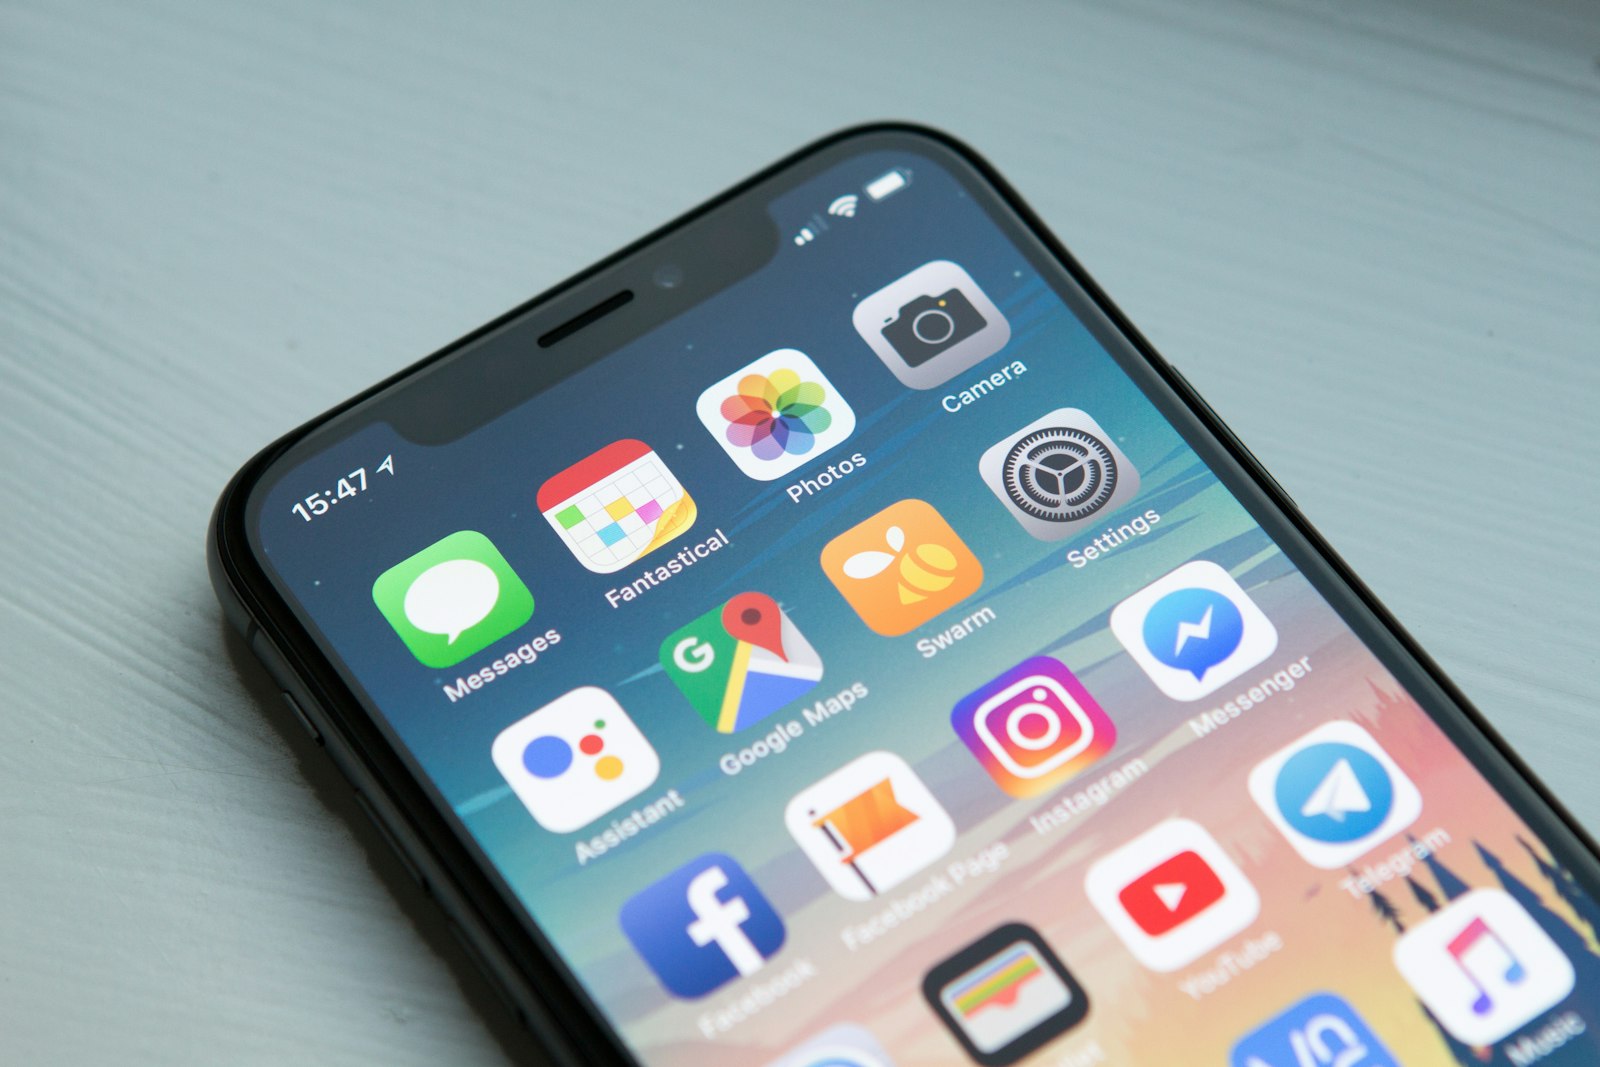
- Smartphones: The most convenient option. Modern flagship phones produce excellent results in good light and are always with you. Limitations appear in low light and when you need optical zoom.
- Compact cameras: Offer better optical zoom and manual controls in a pocketable body. A good middle ground for travelers who want more without the bulk.
- Mirrorless and DSLR cameras: Maximum image quality and creative control. Interchangeable lenses open up creative possibilities but add weight, cost, and complexity.
- Action cameras: Rugged, waterproof, and ideal for adventure travel, water sports, or wide-angle video.
The camera you actually bring and use will always outperform the one left at home to avoid the hassle. Many experienced travel photographers choose a capable compact or mid-range mirrorless precisely because it removes friction.
What Gear to Pack — and What to Leave Behind
Overpacking camera gear is a common mistake. Every extra lens or accessory you add must be carried, insured, protected from theft, and cleared through security.
- One versatile zoom lens covers most situations and eliminates constant lens swapping in busy environments.
- Extra batteries and a charger — cold weather, long days, and heavy use drain batteries faster than expected.
- Spare memory cards — carry more storage than you think you need. Cards are inexpensive and small.
- A lightweight tripod or gorilla-style flexible tripod for night shots, long exposures, and self-portraits without asking strangers.
- A lens cloth and a protective bag insert — dust, humidity, and vibration are constant risks on the road.
- A laptop or tablet for backup, or a portable SSD if you prefer to travel light with cloud backup as your safety net.
Check airline carry-on and checked bag policies before you fly — lithium batteries have specific restrictions, and expensive camera equipment is best kept in the cabin with you.
Understanding Light: The Single Most Important Variable
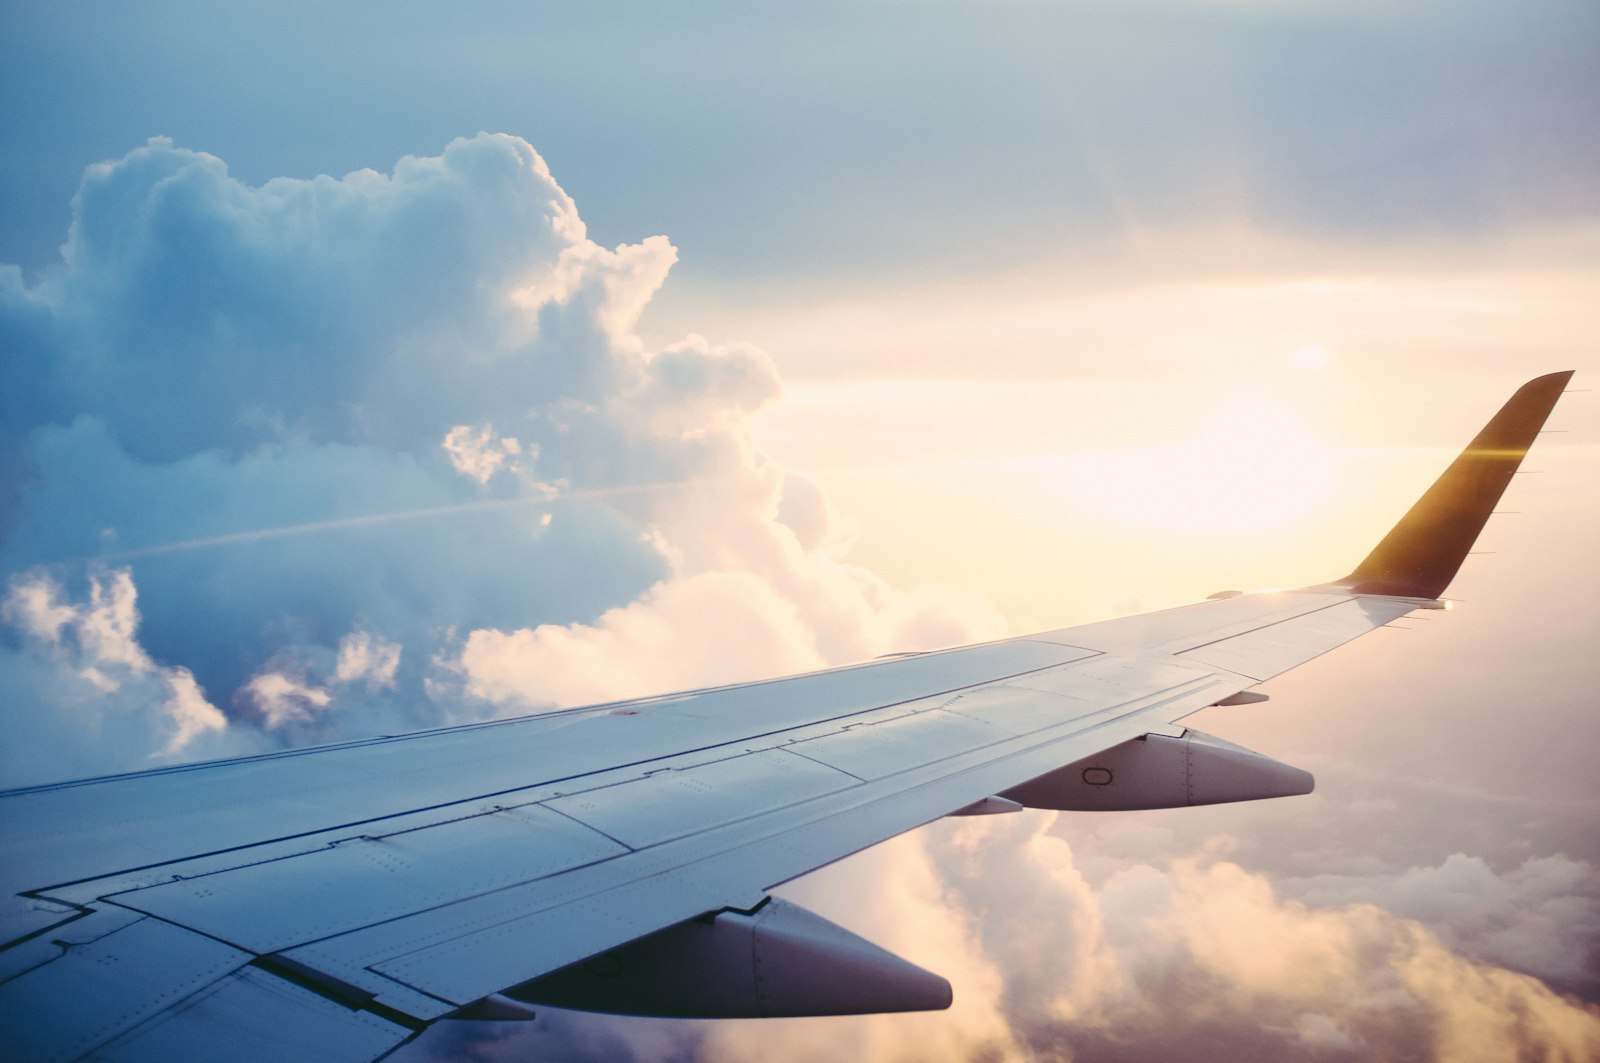
Professional photographers obsess over light because light is what photography literally is. The same location can look flat and uninspiring at midday and breathtaking thirty minutes after sunrise.
- Golden hour — the hour after sunrise and before sunset — delivers warm, directional light that flatters landscapes, architecture, and portraits alike.
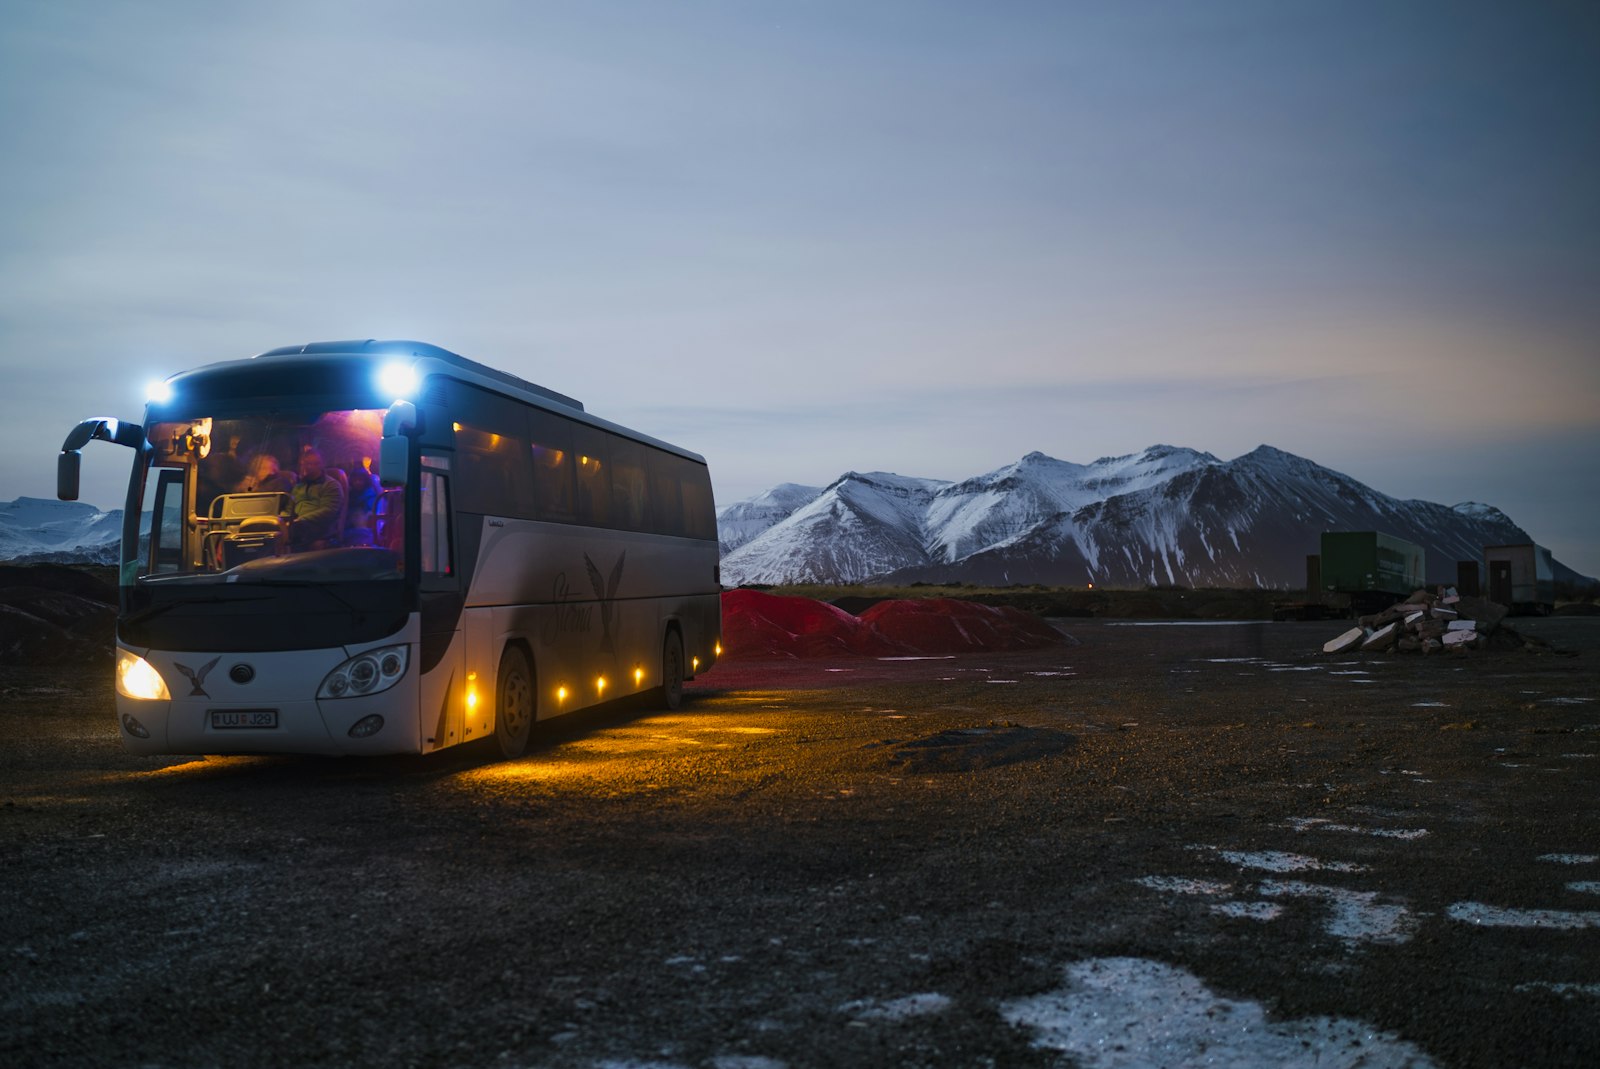
- Blue hour — the twenty to thirty minutes before sunrise and after sunset — produces cool, even light and stunning cityscapes where artificial lights begin to glow.
- Overcast days create a natural soft box, reducing harsh shadows. Excellent for portraits and market scenes.
- Midday sun produces deep shadows and blown-out skies. Work with it by seeking shade, using it for graphic, high-contrast compositions, or shooting upward into blue sky.
Planning your shooting schedule around light is one of the fastest ways to improve your results. Apps that show golden hour times and sun position for any location on any date are widely available and genuinely useful.
Composition Basics That Apply Everywhere
Composition is the arrangement of elements within your frame. A few foundational principles work across every type of travel photography.
- Rule of thirds: Divide your frame into a three-by-three grid. Place key subjects or the horizon along those lines rather than dead center.
- Leading lines: Roads, rivers, fences, and staircases naturally draw the eye into the image. Position them to guide viewers toward your main subject.
- Foreground interest: Including something in the foreground — a flower, rocks, a person — gives depth and scale to landscapes.
- Framing: Use doorways, arches, trees, or windows to frame your subject within the scene.
- Simplify: Move closer, change your angle, or wait for a crowd to thin. Clutter competes with your subject.
- Break the rules deliberately: Once you understand a principle, intentionally violating it can produce striking results.
Photography Etiquette and Respecting Local Culture
A camera can intrude as easily as it can connect. How you photograph people and places reflects directly on how you're received as a visitor.
- Ask permission before photographing individuals, particularly in close quarters or when the subject is clearly aware of you. A smile, gesture, or simple word in the local language goes a long way.
- Respect posted restrictions. Many religious sites, museums, and cultural monuments prohibit photography or flash. These rules exist for good reasons — follow them.
- Consider whether to share images on social media that identify vulnerable communities, minors, or politically sensitive situations.
- Be aware of drone regulations. Many countries and cities have strict rules about where and how drones may be operated. Violating these can result in fines or confiscation. Check official local aviation authority guidance before flying.
- Avoid the "human zoo" approach — photographing people in poverty or traditional dress purely for exotic effect without genuine human interaction.
The best travel portraits often come from conversations, not stealth. When someone knows you and agrees to be photographed, the image reflects that trust.
Photographing Landmarks Without Clichés
The Eiffel Tower, Machu Picchu, the Taj Mahal — iconic landmarks have been photographed billions of times. The challenge is finding your own angle.
- Arrive early or stay late to avoid crowds and catch better light.
- Look for unusual vantage points — from above, below, reflected in water, or framed through an unexpected element.
- Include people to give scale and life to architectural photography.
- Zoom in on details — carvings, textures, faces — rather than always reaching for the wide establishing shot.
- Shoot in context: a market stall with the monument visible in the background tells a richer story than the monument alone.
Smartphone Photography: Getting More From What You Have
Smartphone cameras have closed much of the gap with dedicated cameras, especially in well-lit conditions. A few deliberate habits unlock significantly better results.
- Tap to focus and adjust exposure manually before shooting — don't rely entirely on automatic settings.
- Shoot in the highest quality format available. Many phones now support RAW or ProRAW formats, which give far more flexibility in editing.
- Avoid digital zoom when possible — move closer physically, or accept the crop in post-processing.
- Use portrait mode thoughtfully. The artificial background blur can look unnatural in wide scenes; it works best for genuine close-up portraits.
- Clean your lens. A smudged lens is the most common and most overlooked cause of soft, hazy smartphone photos.
Backing Up Your Photos on the Road
Losing photos to a corrupted card, a stolen bag, or a dropped hard drive is a devastation no traveler should have to experience. A simple backup habit prevents it.
- Follow the 3-2-1 rule: three copies, on two different media, with one stored off-site (cloud).
- Back up each evening rather than waiting until you're home.
- Use automatic cloud backup on your smartphone so images are protected without extra steps.
- Store memory cards and backup drives in separate bags when traveling.
Basic Editing: Making Good Photos Better
Editing is a natural part of the photographic process — it is not cheating. The question is how much to apply and what goal you're working toward.
- Exposure and white balance corrections fix the most common technical problems and should be the first adjustments you make.
- Cropping and straightening can fix composition issues after the fact — don't be afraid to reframe in post.
- Highlights and shadows: Recovering blown highlights and lifting crushed shadows reveals detail the camera captured but the initial render hid.
- Color grading gives your photos a consistent mood. Many photographers develop a signature style through subtle, repeatable color adjustments.
- Avoid over-processing: heavily saturated, over-sharpened, or heavily filtered images often look dated quickly.
Free and low-cost mobile editing apps handle most travel photo needs well. Desktop software offers more precision for photographers who work in RAW.
Organizing and Sharing Your Travel Photos
Photos that never get organized rarely get shared or printed. A simple system keeps your archive useful and accessible.
- Sort by destination and date immediately after each trip, before the memories fade.
- Cull ruthlessly — select the best twenty images from a day rather than keeping two hundred mediocre ones.
- Consider printing your favorites. Physical prints and photo books are surprisingly affordable and far more lasting than a social media post.
- Share thoughtfully in travel communities — detailed captions with location, context, and technique genuinely help other photographers and planners.
The TravelerPulse.pro community is a natural place to share what you shoot and learn from fellow travelers. Your images can help others plan their own visits and spark conversations that improve everyone's experience.
Keeping Your Gear and Yourself Safe
Camera equipment attracts attention. Simple precautions dramatically reduce risk without turning your trip into an anxious experience.
- Use a camera bag that doesn't look like a camera bag — many photographers prefer ordinary backpacks with padded inserts.
- Keep camera straps short and bags in front of you in crowded areas.
- Register expensive gear with your home country's customs authority before international travel to avoid import duty complications on return.
- Check whether your travel insurance or homeowner's policy covers camera equipment abroad — many standard policies do not.
- Be situationally aware. Pausing to look through a viewfinder makes you temporarily less aware of your surroundings.
Frequently Asked Questions
Do I need an expensive camera to take great travel photos?
No. Light, composition, timing, and subject matter matter far more than equipment at most skill levels. A current smartphone is genuinely capable of producing excellent travel images. Invest in a better camera when you've outgrown what you have — not before.
Is it legal to photograph people in public places abroad?
Laws vary significantly by country. In many places, photographing people in public spaces is legally permitted, but local customs, cultural norms, and personal dignity should guide your decisions beyond the letter of the law. For any specific destination, consult official government travel advisories and local regulations.
How do I get permission to photograph in sensitive or restricted locations?
Contact the site's management, tourism authority, or local government office in advance. Many historical sites, national parks, and religious institutions have formal permit processes. Applying early is essential, as approval can take time. Your country's embassy or the destination's official tourism board can often point you to the right contacts.
What should I do if my memory card fails mid-trip?
Stop using the card immediately to avoid overwriting data. Many professional data recovery services can retrieve images from corrupted cards — do not reformat until you've exhausted recovery options. This is exactly why backing up daily matters so much.
Conclusion
Travel photography rewards patience, curiosity, and preparation more than it rewards expensive gear. The travelers who consistently come home with images worth sharing are those who wake up early for the light, take a moment to connect with their subjects, stay organized on the road, and keep learning from every trip. Use your My Travel Hub on TravelerPulse.pro to keep your itinerary, notes, and trip details in one place — so when a perfect photographic moment appears, you're free to focus entirely on capturing it.